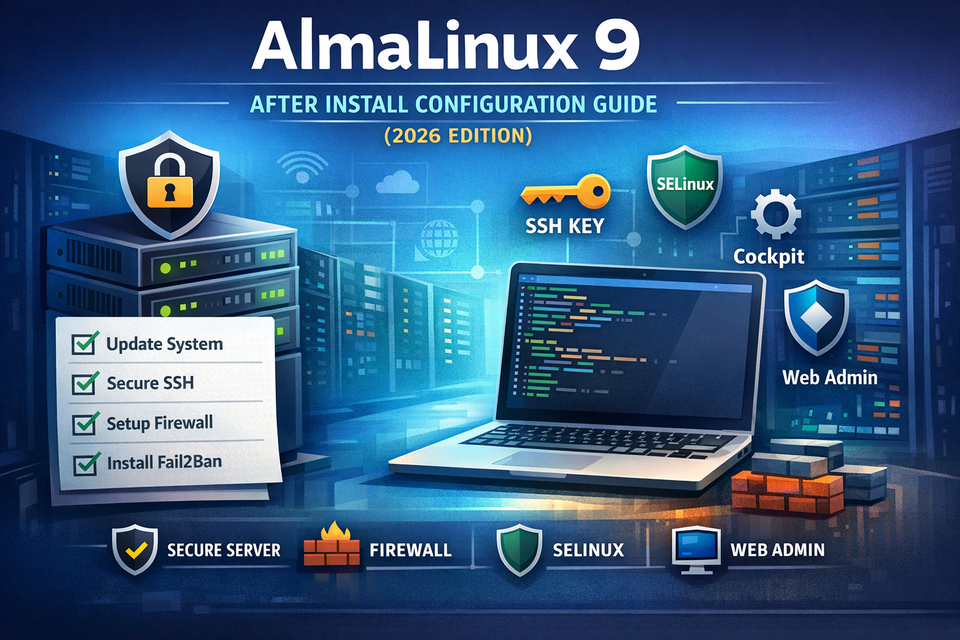
AlmaLinux 9 After Install Configuration Guide (2026 Edition)
Installing AlmaLinux 9 is the easy part. Turning it into a secure, stable, production-ready server is where real system administration begins.
This article takes a practical, real-world approach to AlmaLinux after install configuration. Not just commands — but the mindset and structure behind building a reliable Linux server foundation.
The Real Question: What Is This Server For?
Before running a single configuration command, ask yourself:
- Is this a public web server?
- A private development machine?
- A container host?
- A database backend?
Your post-install configuration should reflect the purpose of the machine. However, there is a universal baseline every AlmaLinux 9 system should follow.
Step 1: Update Before You Do Anything Else
A fresh ISO is already outdated. Kernel patches, security fixes, and dependency updates must be applied immediately.
sudo dnf update -y
sudo reboot
Think of this as syncing your server with the current security landscape.
Step 2: Stop Using Root as Your Daily Account
Professional Linux administration avoids direct root usage. Instead:
sudo adduser adminuser
sudo usermod -aG wheel adminuser
The idea is simple: reduce blast radius. If something goes wrong, it should not go wrong as root.
Step 3: Harden SSH Immediately
Most internet-exposed Linux servers are attacked within minutes of going online. SSH is always the first target.
Edit:
sudo nano /etc/ssh/sshd_configMinimum recommended baseline:
PermitRootLogin no
PasswordAuthentication no
PubkeyAuthentication yes
Combine this with SSH key authentication from your Mac, and you eliminate 90% of brute-force risk.
Step 4: Firewall Is Not Optional
AlmaLinux uses firewalld by default. Keep it enabled.
sudo systemctl enable --now firewalld
sudo firewall-cmd --permanent --add-service=ssh
sudo firewall-cmd --reload
The firewall defines your server’s attack surface. Only open what you truly need.
Step 5: Add Automated Brute-Force Protection
Even with SSH keys, automated protection is essential. Fail2Ban watches authentication logs and blocks abusive IP addresses.
sudo dnf install fail2ban -y
sudo systemctl enable --now fail2ban
Properly configured, this becomes your silent security guard.
Step 6: Keep SELinux Enabled
Many beginners disable SELinux. Professionals don’t.
getenforceExpected output:
EnforcingSELinux provides mandatory access control — an extra containment layer even if a service is compromised.
Step 7: Add Observability
You cannot manage what you cannot see.
- Monitor logs:
/var/log/secure - Track services with
systemctl - Use
htopfor performance overview - Optional: install Cockpit for web-based monitoring
Visibility is stability.
Step 8: Define Structure Early
A messy server becomes technical debt fast. Create a clean directory structure:
/srv/www
/srv/apps
/srv/backups
Organization improves backup strategies and deployment clarity.
The Professional Mindset
AlmaLinux 9 is enterprise-grade. Treat it like enterprise infrastructure:
- Least privilege
- Minimal open ports
- Automated updates (when appropriate)
- Backups before experimentation
- Document your configuration
From Fresh Install to Production Confidence
A proper AlmaLinux after install configuration transforms your server from a blank OS into a secure operational platform.
Whether you’re running web applications, containers, APIs, or databases, the strength of your infrastructure depends on the quality of your foundation.
Configure once. Secure properly. Scale with confidence.
SEO Keywords: AlmaLinux 9 after install configuration, AlmaLinux server hardening, secure AlmaLinux setup, AlmaLinux post installation guide, AlmaLinux SSH security, firewalld configuration, Fail2Ban setup.