How to Secure Your Linux Server with UFW Firewall Rules
A firewall is a fundamental layer of defense for any Linux server. UFW (Uncomplicated Firewall) provides a simple interface to manage netfilter/iptables rules so you can quickly allow or deny services without wrestling with low-level syntax. This tutorial shows practical steps and examples to secure a server with UFW.
What is UFW and why use it?
UFW is a user-friendly frontend for the Linux kernel's packet filtering system (iptables/nftables depending on distribution). It's aimed at making firewall administration easier for beginners while still supporting the rules you need for production.
Quick checks to see if UFW is installed and its current status:
# Check if ufw is available
which ufw || echo "UFW not found"
# See current status
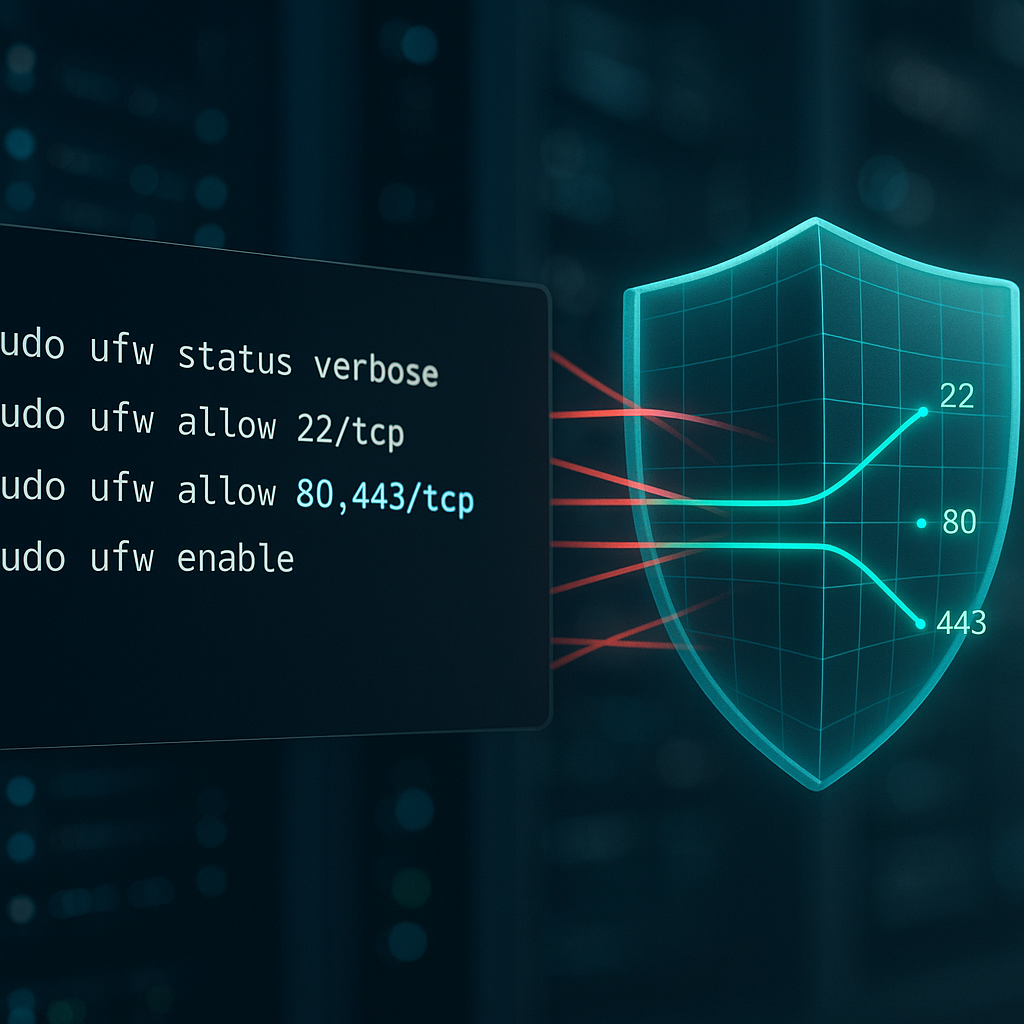
sudo ufw status verbose
If UFW isn't installed, it's available on Debian/Ubuntu and many derivatives; other distros have similar packages.
Installing and enabling UFW (safely)
Important: always allow SSH before enabling the firewall on a remote server to avoid locking yourself out.
Install and enable UFW, allowing SSH first:
# Install (Debian/Ubuntu example)
sudo apt update
sudo apt install ufw -y

# Allow SSH before enabling the firewall
sudo ufw allow OpenSSH        # uses service profile or port 22/tcp

# Enable UFW
sudo ufw enable

# Confirm status
sudo ufw status verbose
If you're using an SSH port other than 22:
# Example: SSH on port 2222
sudo ufw allow 2222/tcp
sudo ufw enable
If your server uses IPv6, enable it in /etc/default/ufw:
# Open the file and ensure:
IPV6=yes
Then reload or restart UFW:
sudo ufw reload
Basic rules: defaults, allow, deny, and deleting rules
Start by setting sensible defaults — typically block incoming and allow outgoing. Then create explicit allow rules for the services you need.
Set defaults and allow common services:
# Set safe defaults
sudo ufw default deny incoming
sudo ufw default allow outgoing

# Allow HTTP and HTTPS
sudo ufw allow 80/tcp
sudo ufw allow 443/tcp

# Allow a specific application by name (profile must exist)
sudo ufw allow "Nginx Full"

# Check rules
sudo ufw status numbered
To deny or remove rules:
# Deny a port
sudo ufw deny 23/tcp          # block telnet, for example

# Delete a rule by number
sudo ufw status numbered
sudo ufw delete 3             # deletes the numbered rule 3
Tips: using named application profiles is easier and less error-prone than remembering ports; use sudo ufw app list to view available profiles.
Advanced rules: rate limiting, IP restrictions, and logging
Once basic rules are in place, add defenses like rate limiting and restrict access by IP or subnet.
Rate-limit SSH to reduce brute-force attacks:
# Limit allows 6 attempts in 30 seconds by default (example)
sudo ufw limit ssh
# or by port:
sudo ufw limit 22/tcp
Allow only a specific admin subnet to access SSH:
# Allow SSH from a trusted /24 network
sudo ufw allow from 203.0.113.0/24 to any port 22 proto tcp

# Allow a single admin IP
sudo ufw allow from 198.51.100.25 to any port 22 proto tcp
Enable logging so you can see dropped packets and troubleshoot:
sudo ufw logging on
# View recent entries (ufw log file)
sudo tail -n 50 /var/log/ufw.log
# or use journalctl on systems that forward logs there
sudo journalctl -u ufw --since "1 hour ago"
Note: UFW integrates with fail2ban easily; rely on rate limiting plus fail2ban for stronger protection.
Testing, auditing and managing rules
Always test from a remote machine (or another terminal/IP) and audit your rules regularly.
List rules with numbers to make deletions safe:
sudo ufw status numbered
Delete or modify rules:
# Example removing rule #4
sudo ufw delete 4

# Or delete by explicit rule text
sudo ufw delete allow 80/tcp
Use nmap from another host to test exposed ports:
# Replace SERVER_IP with your server's IP
nmap -sT -p 22,80,443 SERVER_IP
For troubleshooting whether UFW is applying rules as expected, view the raw backend rules:
# Show the underlying ruleset (iptables/nft output)
sudo ufw show raw
When making changes to services, remember to re-check UFW rules — for example, if you change a service port, add the new rule before restarting the service.
Common Pitfalls
- Locking yourself out by enabling UFW before allowing SSH: always add SSH allow rule first.
- Assuming application profiles exist: sudo ufw app list shows available profiles; if a profile isn't there, allow the specific port/protocol.
- Forgetting IPv6: if your server or clients use IPv6, make sure IPV6=yes in /etc/default/ufw or you may unintentionally leave IPv6 traffic unfiltered.
Example commands to verify you avoided these mistakes:
# Ensure SSH allowed
sudo ufw status | grep -i ssh

# Show available app profiles
sudo ufw app list

# Verify IPv6 support in UFW config
grep IPV6 /etc/default/ufw
Next Steps
- Enable and configure fail2ban to block repeated login attempts alongside UFW.
- Audit your firewall monthly: review sudo ufw status verbose and check logs for unexpected denies.
- Automate backups of your firewall rules and server configuration (store in version control or an encrypted backup).
With these steps you can quickly harden a Linux server using UFW while keeping the setup simple and maintainable. Regular testing and incremental tightening of rules will keep your server protected as services and threats evolve.
👉 Explore more IT books and guides at dargslan.com.