Mastering File Searching with find and locate
Introduction
Searching for files efficiently is a daily task for anyone working with Unix-like systems. This guide explains when to use locate for blazing-fast indexed lookups and find for powerful, attribute-based searches — with practical examples you can copy and adapt.
Why use find and locate?
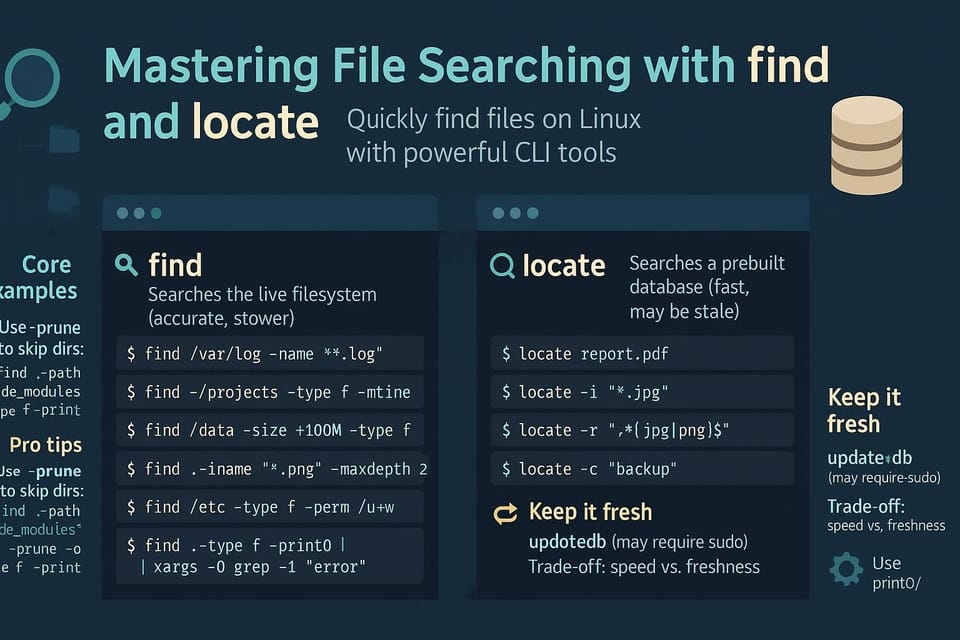
Both tools solve the same general problem — finding files — but they do it differently and are best for different situations. locate searches a pre-built database and returns results almost instantly, while find walks the filesystem live and can match by almost any attribute (name, size, time, permissions) and perform actions on the results.
Example: quick intuition check
# Instant lookup with locate (uses an index)
locate README.md | head -n 5

# Live search in current directory with find (slower for many files)
find . -name 'README.md'
Explanation:
- Use locate when you need speed and don't require the very latest filesystem changes (the index may be slightly out of date).
- Use find when you need current results or advanced filters/actions like deleting, changing permissions, or running custom commands on each result.
Using locate (fast indexed search)
locate relies on a database (often maintained by mlocate or plocate) that is updated periodically by updatedb. Because the database is a snapshot, locate can return matches in milliseconds even on very large trees.
Examples:
# Simple locate query (case-sensitive)
locate bashrc

# Case-insensitive search with -i
locate -i README.md

# Restrict results to lines matching a pattern using grep
locate --regex '\.conf$' | grep -i nginx
How it works and best practices:
- The database is typically updated daily by a cron or systemd timer that runs updatedb. If you've just created files and need them to be searchable immediately, run sudo updatedb to refresh the index (requires appropriate privileges).
- Use patterns or piping to grep for more complex matches. Some locate implementations support --regex or -r for regular expressions.
- Beware of stale results — locate might list files that no longer exist until the database is refreshed.
Practical command:
# Update the locate database (requires sudo)
sudo updatedb

# Then locate newly created files
locate my_project | tail -n 20
Using find (powerful on-the-fly search)
find walks directory trees and evaluates expressions against files. It can filter by name, type, size, modification time, permissions, owner, group, and more. Critically, find can run actions (-exec, -delete, -print0 + xargs -0) on matched files.
Basic examples:
# Find by name (case-sensitive)
find /var/www -name '*.php'

# Case-insensitive name search
find /home -iname 'notes.txt'

# Find regular files (-type f) larger than 10M
find / -type f -size +10M -print
Using -exec and safe deletion:
# Run a command on each match ({} is placeholder, \; ends -exec)
find . -type f -name '*.tmp' -exec rm {} \;

# Safer: use -print0 and xargs -0 to handle special chars and spaces
find . -type f -name '*.tmp' -print0 | xargs -0 rm
Time-based searches:
# Files modified in the last 7 days
find /path/to/dir -type f -mtime -7

# Files older than 30 days
find /backup -type f -mtime +30
Important notes:
- Parentheses group expressions but must be escaped in the shell: ( and ).
- Logical operators: -and (implicit), -or (-o), -not (!). Evaluate carefully — order matters.
- Always test with -print before running destructive actions like -delete or rm.
Combining find and locate, and advanced tips
Sometimes the best approach is to use both tools: locate to quickly discover candidate paths, and find when you need to verify or perform actions. You can also filter locate output and feed it into find for precise control.
Examples:
# Use locate to get candidates, then verify only existing ones with xargs + stat
locate '*.log' | head -n 100 | xargs -r stat -c '%n %s %y' 2>/dev/null

# Use locate to narrow down directories, then run find inside each
locate -i '/projects/' | grep '/projects/myapp$' | while read dir; do
  find "$dir" -type f -name '*.py' -print
done
Advanced find patterns:
# Find files with specific permissions (e.g., world-writable)
find / -type f -perm -o=w -print

# Find files owned by a user and change ownership in one command
find /srv -user alice -exec chown bob:staff {} \;
Performance tips:
- Limit find's scope (start directory) to reduce traversal time.
Use -maxdepth and -mindepth to control recursion depth:
# Only search immediate children
find /etc -maxdepth 1 -type f -name '*.conf'
Exclude directories you don't need using -prune:
find / -path /proc -prune -o -path /sys -prune -o -name '*.iso' -print
Commands table
Below is a quick-reference table of common commands and options for find and locate.
| Command / Option | Tool | Purpose / Description |
|---|---|---|
| locate PATTERN | locate | Fast search using indexed database (supports -i for case-insensitive on many implementations) |
| updatedb | locate (utils) | Update the locate database (often requires sudo) |
| find PATH -name PATTERN | find | Search by filename (case-sensitive) |
| find PATH -iname PATTERN | find | Case-insensitive name search |
| find PATH -type [f | d] | find |
| find PATH -size [+ | -]N[c] | find |
| find PATH -mtime [+ | -]N | find |
| find PATH -perm /MODE | find | Permission match (symbolic or octal), /MODE means any of these bits set |
| find PATH -exec CMD {} ; | find | Run CMD for each matched file ({} replaced by filename) |
| find PATH -print0 | find | Null-terminate results for safe xargs -0 handling |
| -prune | find | Exclude directories from traversal |
| -maxdepth N / -mindepth N | find | Control search depth |
| grep, xargs | none | Often used to filter or act on placed output from locate/find |
Common Pitfalls
- Confusing locate’s index state: locate may return files that were deleted after the last updatedb run. If results look wrong, run sudo updatedb or use find for current state.
- Improper quoting/escaping: unquoted wildcards are expanded by the shell. Use quotes or escape characters when passing patterns to find/locate (e.g., -name '*.log').
- Running destructive actions without testing: always run a non-destructive preview (e.g., -print or -ls) before using -delete or -exec rm. Parentheses and logical operators can change which files are matched.
Next Steps
- Practice: try find and locate on a small sample directory to learn flags safely.
- Read the man pages: man find and man updatedb/locate to explore less common options.
- Build safe workflows: combine -print0 with xargs -0 and test commands on copies before acting on production data.
End of tutorial — with these techniques you'll be able to locate files quickly and confidently, whether you need a fast lookup with locate or a precise, scriptable search with find.
👉 Explore more IT books and guides at dargslan.com.