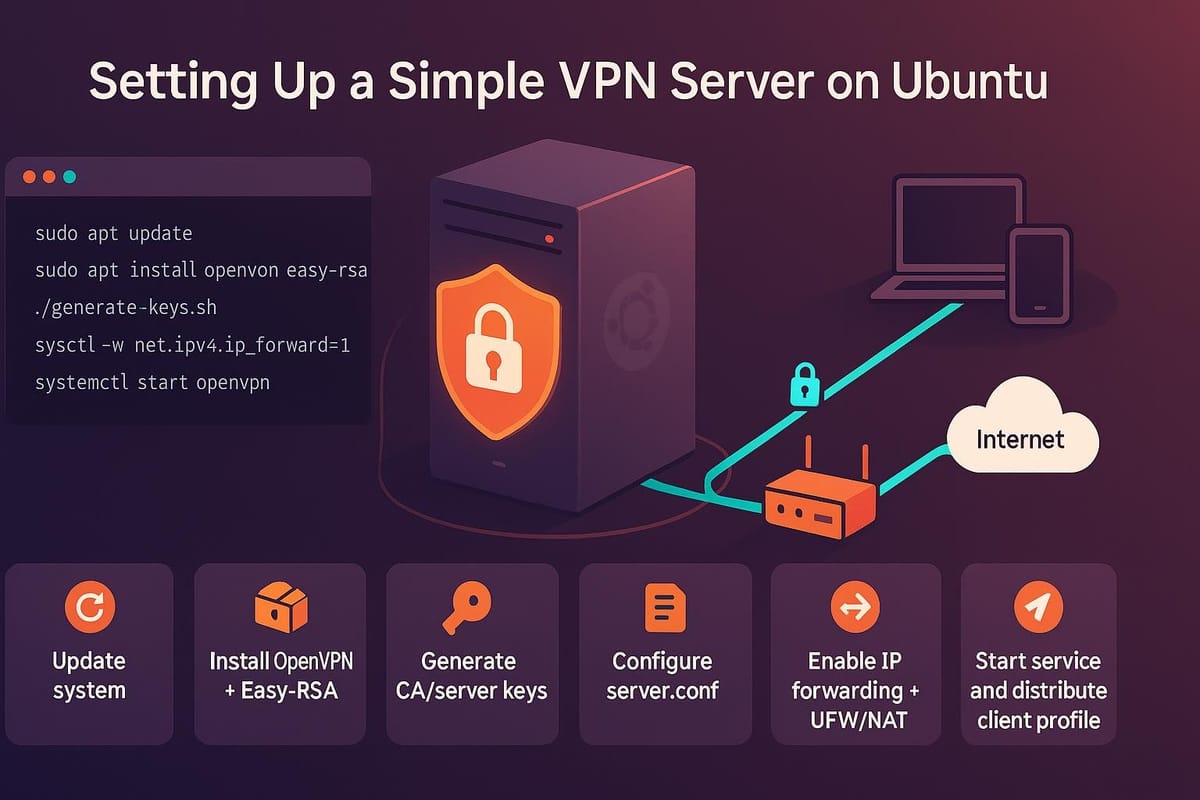
Setting Up a Simple VPN Server on Ubuntu
Set up a simple VPN server on Ubuntu with this step-by-step guide for Linux and DevOps beginners. Easy OpenVPN and WireGuard configuration, testing, and secure remote access.

Introduction
Short, simple, private networking can be set up quickly on Ubuntu using WireGuard — a modern, fast, and easy-to-configure VPN. This tutorial walks you through installing WireGuard, creating keys, configuring the server, opening the firewall, and testing a client connection. Commands and sample configuration files are included so you can follow along step by step.
Prerequisites
Before you begin, you need:
- An Ubuntu server (18.04+, preferably 20.04 or 22.04) with a public IP.
- A user with sudo privileges.
- A client machine (desktop, laptop, or phone) to connect.
Check your Ubuntu version and the network interface name first:
# Check Ubuntu release
lsb_release -a

# Find the default network interface (replace if different)
ip route get 1.1.1.1 | awk '{print $5; exit}'
# or
ip route show default
Note the interface name (e.g., eth0, ens3) and your server's public IP. You will need them later.
Install WireGuard and generate keys
Install WireGuard from Ubuntu's package repository. Then generate a server key pair and a client key pair.
# Update packages and install WireGuard
sudo apt update
sudo apt install -y wireguard

# Create a directory to store keys (optional)
sudo mkdir -p /etc/wireguard/keys
sudo chmod 700 /etc/wireguard/keys
cd /etc/wireguard/keys

# Generate server key pair
sudo wg genkey | sudo tee server_private.key | sudo wg pubkey | sudo tee server_public.key

# Generate client key pair
sudo wg genkey | sudo tee client_private.key | sudo wg pubkey | sudo tee client_public.key

# Inspect keys (do not share private keys)
sudo cat server_private.key
sudo cat server_public.key
Important: Keep private keys secret and set proper permissions:
sudo chmod 600 /etc/wireguard/keys/*.key
Configure the server
Create the WireGuard interface configuration at /etc/wireguard/wg0.conf. Replace placeholders with your actual values: server private key, server public IP (or DDNS name), and the interface name you determined earlier (for NAT).
Example configuration (UDP port 51820 is the default):
# /etc/wireguard/wg0.conf
[Interface]
Address = 10.10.0.1/24
ListenPort = 51820
PrivateKey = <SERVER_PRIVATE_KEY>
# Persist tun file across reboots (optional)
SaveConfig = true

# Enable PostUp/PostDown NAT and firewall adjustments.
# Replace eth0 with your server's external NIC (use ip route to find it).
PostUp = sysctl -w net.ipv4.ip_forward=1
PostUp = iptables -t nat -A POSTROUTING -o eth0 -j MASQUERADE
PostDown = iptables -t nat -D POSTROUTING -o eth0 -j MASQUERADE
Add a client peer block in the server config (use the client public key you generated):
# Add this to /etc/wireguard/wg0.conf under the [Interface] section
[Peer]
# Client A
PublicKey = <CLIENT_PUBLIC_KEY>
AllowedIPs = 10.10.0.2/32
Start and enable the interface:
# Bring up interface
sudo systemctl enable wg-quick@wg0
sudo systemctl start wg-quick@wg0

# Check status
sudo wg show
sudo ip a show wg0
If you prefer to enable IP forwarding system-wide rather than with PostUp, run:
sudo sysctl -w net.ipv4.ip_forward=1
# To make persistent:
echo "net.ipv4.ip_forward=1" | sudo tee -a /etc/sysctl.conf
sudo sysctl -p
Firewall and routing
If your server uses UFW (Uncomplicated Firewall) or iptables, allow the WireGuard port and NAT outbound traffic. Example using UFW:
# Allow WireGuard UDP port (default 51820)
sudo ufw allow 51820/udp

# Enable forwarding in UFW configuration
sudo sed -i 's/#DEFAULT_FORWARD_POLICY="DROP"/DEFAULT_FORWARD_POLICY="ACCEPT"/' /etc/default/ufw

# Add NAT rules to /etc/ufw/before.rules (prepend or edit carefully)
# Example snippet to add to top of /etc/ufw/before.rules (before the *filter table):
# *nat
# :POSTROUTING ACCEPT [0:0]
# -A POSTROUTING -s 10.10.0.0/24 -o eth0 -j MASQUERADE
# COMMIT

# Reload UFW
sudo ufw reload
Example using raw iptables (non-persistent):
# Allow incoming WireGuard UDP
sudo iptables -A INPUT -p udp --dport 51820 -j ACCEPT

# Enable NAT for the VPN subnet
sudo iptables -t nat -A POSTROUTING -s 10.10.0.0/24 -o eth0 -j MASQUERADE

# Show rules
sudo iptables -t nat -L -n
sudo iptables -L -n
If you need persistence for iptables rules across reboots, install iptables-persistent:
sudo apt install -y iptables-persistent
sudo netfilter-persistent save
Configure a client and test the connection
Create a client configuration using the client private key and server public key. For a mobile client, you can paste this into the WireGuard app. For another Linux machine, use wg-quick.
Example client config (client.conf):
# client.conf (on client machine)
[Interface]
Address = 10.10.0.2/32
PrivateKey = <CLIENT_PRIVATE_KEY>
DNS = 1.1.1.1

[Peer]
PublicKey = <SERVER_PUBLIC_KEY>
Endpoint = your.server.public.ip:51820
AllowedIPs = 0.0.0.0/0, ::/0
PersistentKeepalive = 25
Start the client (Linux):
# Copy client.conf to /etc/wireguard/client.conf or run with wg-quick
sudo wg-quick up client.conf

# Check peer status
sudo wg

# Test connectivity: ping server's VPN IP
ping -c 3 10.10.0.1

# Check your public IP (should show the server's IP if using AllowedIPs = 0.0.0.0/0)
curl ifconfig.me
If using a phone, install the official WireGuard app, create a new tunnel and paste the client config. Connect and verify you can browse or ping remote IPs.
Commands table
A quick reference table for key commands used above:
| Command | Purpose |
|---|---|
| sudo apt update && sudo apt install wireguard | Install WireGuard on Ubuntu |
| wg genkey | tee private.key | wg pubkey | tee public.key | Generate key pair (private and public) |
| sudo chmod 600 /etc/wireguard/keys/*.key | Secure private keys |
| sudo systemctl enable --now wg-quick@wg0 | Start and enable WireGuard interface wg0 |
| sudo wg show | Show WireGuard status and peers |
| sudo ip a show wg0 | Show WireGuard interface details |
| sudo sysctl -w net.ipv4.ip_forward=1 | Enable IP forwarding immediately |
| sudo iptables -t nat -A POSTROUTING -s 10.10.0.0/24 -o eth0 -j MASQUERADE | NAT outbound traffic from VPN |
| sudo ufw allow 51820/udp | Allow WireGuard UDP in UFW |
| sudo wg-quick up client.conf | Start client tunnel on Linux client |
Common Pitfalls
- Forgetting to enable IP forwarding: Without net.ipv4.ip_forward=1, clients cannot access the wider internet through the server.
- Wrong interface name in NAT rules: Using eth0 when the server uses ens3 or another name will break masquerading — confirm the interface with ip route.
- Exposing private keys: Private keys must be kept secret. If a private key is leaked, revoke the peer and regenerate keys.
Next Steps
- Add multiple clients: create additional key pairs and add [Peer] blocks to the server config.
- Automate key/config generation: write a small script or use a tool to provision new client configs and QR codes for mobile.
- Harden the server: enable automatic updates, limit SSH access, and monitor WireGuard sessions with logging or a basic dashboard.
This guide gives you a simple, working WireGuard VPN on Ubuntu. Replace the example IPs, keys, and interface names with your real values and you’ll have a secure tunnel up in minutes.
👉 Explore more IT books and guides at dargslan.com.

