Setting Up a Simple Web Server with Apache on Ubuntu
Introduction
A small web server is a great way to learn how the web works and to host simple sites or prototypes. This guide walks you through installing Apache on Ubuntu, serving a basic website, and applying a few essential security and configuration steps.
Prerequisites
Before you begin, you should have:
- An Ubuntu system (18.04, 20.04, 22.04, or newer).
- A user with sudo privileges.
- Basic familiarity with the terminal.
Update package lists and confirm your Ubuntu version:
# Update package index
sudo apt update

# Check Ubuntu version
lsb_release -a
# or
cat /etc/os-release
You can work on a local VM, a cloud instance, or a Raspberry Pi — the steps are the same.
Installing Apache
Apache (apache2 package) is in Ubuntu’s default repositories, so installation is straightforward.
# Install Apache
sudo apt install -y apache2

# Start and enable Apache so it starts on boot
sudo systemctl start apache2
sudo systemctl enable apache2

# Check status
sudo systemctl status apache2 --no-pager
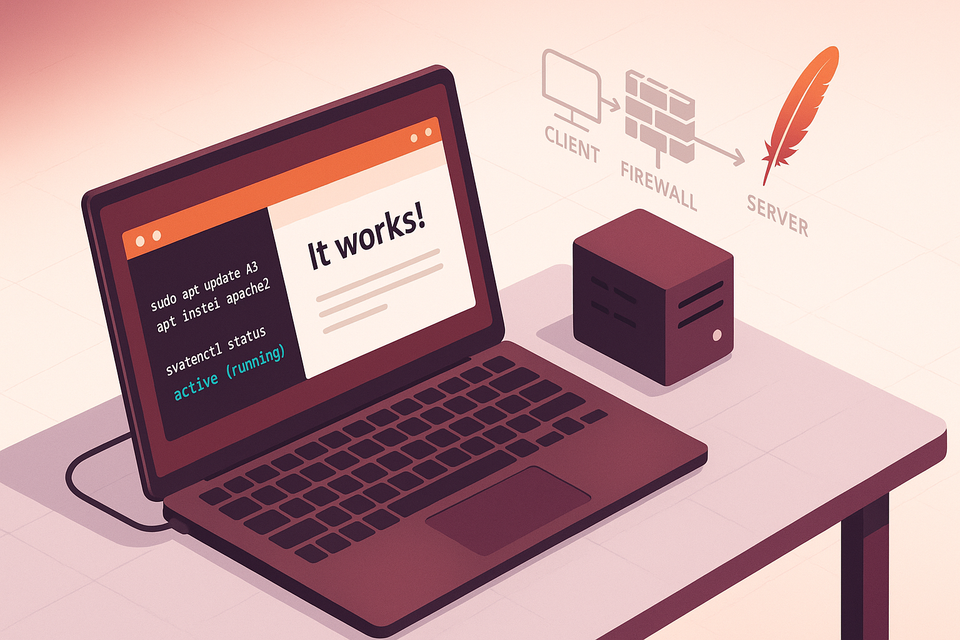
After installation, Apache listens on port 80 by default. To verify from the server itself:
# Confirm Apache is serving the default page
curl -I http://localhost
# You should see an HTTP/1.1 200 OK response
If you installed on a cloud VM, open your server’s public IP in a browser (http://your-server-ip/) and you should see the default Apache “It works!” page.
Serving a Simple Website
Apache serves files from /var/www/html by default. Replace or add index files there to serve content.
Create a simple HTML page and check it:
# Backup the default index then create a custom index.html
sudo mv /var/www/html/index.html /var/www/html/index.html.bak

sudo tee /var/www/html/index.html > /dev/null <<'HTML'
<!doctype html>
<html>
  <head><meta charset="utf-8"><title>My Apache Site</title></head>
  <body>
    <h1>Hello from Apache on Ubuntu!</h1>
    <p>Serving a simple static site.</p>
  </body>
</html>
HTML

# Set appropriate permissions
sudo chown -R www-data:www-data /var/www/html
sudo chmod -R 755 /var/www/html

# Test locally
curl -s http://localhost | sed -n '1,20p'
If you want to host multiple sites (different domains), use virtual hosts. Example: create a virtual host file for example.com.
# Example virtual host config
sudo tee /etc/apache2/sites-available/example.com.conf > /dev/null <<'CONF'
<VirtualHost *:80>
    ServerName example.com
    ServerAlias www.example.com
    DocumentRoot /var/www/example.com
    ErrorLog ${APACHE_LOG_DIR}/example.com-error.log
    CustomLog ${APACHE_LOG_DIR}/example.com-access.log combined
</VirtualHost>
CONF

# Create the docroot and enable the site
sudo mkdir -p /var/www/example.com
sudo chown -R $USER:www-data /var/www/example.com
sudo chmod -R 755 /var/www/example.com

# Enable the site and reload Apache
sudo a2ensite example.com.conf
sudo systemctl reload apache2
Remember to point your DNS records to the server IP for the domain to work externally.
Basic Security and Firewall
Protecting your server and limiting exposure is important even for simple setups.
Enable UFW (Uncomplicated Firewall) and allow web traffic:
# Allow OpenSSH so you don't lock yourself out (if you use SSH)
sudo ufw allow OpenSSH

# Allow HTTP and HTTPS
sudo ufw allow 'Apache Full'

# Enable the firewall
sudo ufw enable

# Check status
sudo ufw status
Disable directory listing and enable common security modules:
# Disable directory listing (if enabled in a site config or .htaccess)
# Example: ensure Options -Indexes in your site config or .htaccess

# Enable recommended modules
sudo a2enmod rewrite headers ssl

# Test Apache configuration and reload
sudo apache2ctl configtest
sudo systemctl reload apache2
To run HTTPS, use Certbot (Let's Encrypt) to get free certificates:
# Install certbot and the Apache plugin
sudo apt install -y certbot python3-certbot-apache

# Obtain and install a certificate (interactive; requires domain pointing to server)
sudo certbot --apache -d example.com -d www.example.com
Certbot will automatically adjust your Apache configuration to redirect HTTP to HTTPS if you choose that option.
Common Pitfalls
Configuration syntax errors: A small typo in a virtual host file will prevent Apache from restarting. Always run a syntax check before reloading.
sudo apache2ctl configtest
sudo journalctl -u apache2 --no-pager -n 50
sudo tail -n 50 /var/log/apache2/error.log
File ownership and permissions: Files not owned by www-data or too-restrictive permissions can cause permission denied errors. Ensure DocumentRoot files are readable by the web server.
sudo chown -R www-data:www-data /var/www/your-site
sudo chmod -R 755 /var/www/your-site
Firewall blocking access: If UFW or your cloud provider’s security group blocks ports 80/443, remote browsing will fail. Check and open HTTP/HTTPS.
sudo ufw status
Next Steps
- Enable HTTPS for production sites using Certbot (Let's Encrypt).
- Deploy dynamic content: install PHP, a database (MySQL/MariaDB), and test with a simple app.
- Automate backups and monitoring: snapshot sites, rotate logs, and set up uptime checks.
👉 Explore more IT books and guides at dargslan.com.